Stealth Sprinter
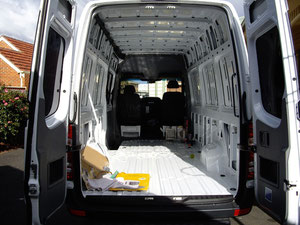
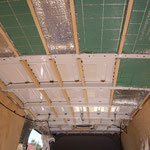
Insulation and Lining
We wanted the insulation to be good enough to minimise the summer heat, and obviously keep out the cold in winter.
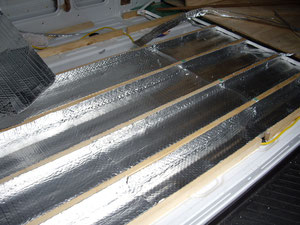
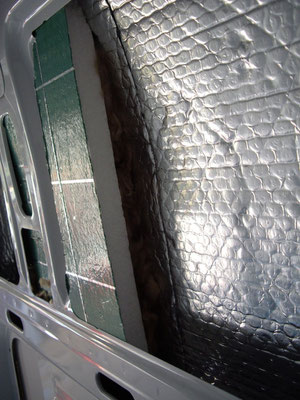
We started by gluing foil lined bubble wrap to the van skin to assist with keeping the van shell isolated from the inside. 25 mm foil lined polystyrene board was also used to trap heat, and the spaces inbetween were filled with lambs wool insulation. Then we covered the whole lot with more foil bubble wrap to form a vapour barrier to keep any moisture away from the insulation or the van body.
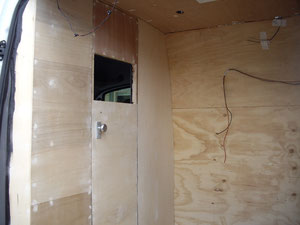
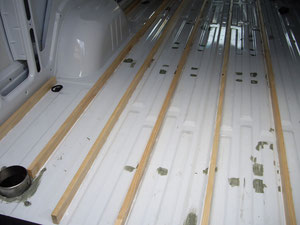
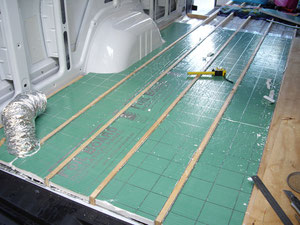
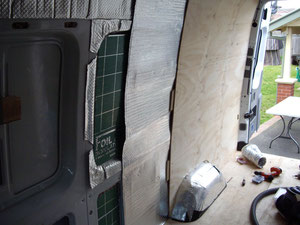
Once each section was insulated and the final layer taped together to stop air getting through, we screwed ply to the ribs. We used 9mm (we thought it was 7mm!) on the walls and 15mm on the floor. We ended up taking the floor up and redoing it in 9mm after weighing the van to find we'd used up 25% of the payload just to ply line it!
The roof had more batons Sikaflexed to it for good mounting points and we used a more flexible 4mm ply on the ceiling.
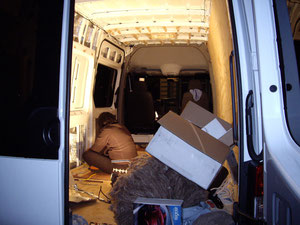
This was a time consuming, boring job that took a lot longer than I'd expected.


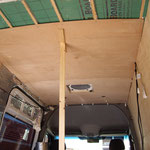
Don't forget any cables for downlights etc