 Stealth Sprinter
Bedroom extension
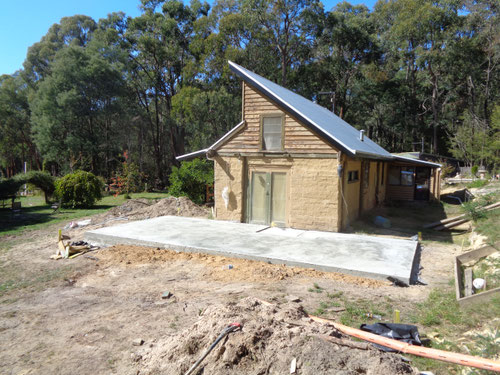
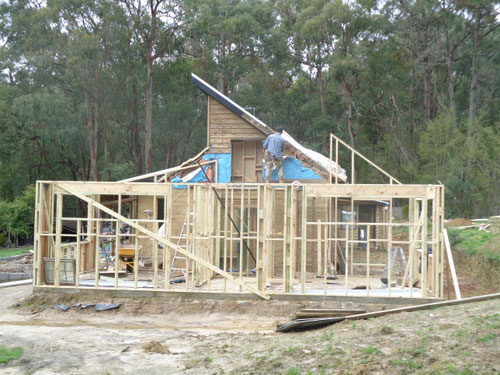
The area of the house we were going to put bedrooms is actually a carport on the plans, so we have decided to build an extension to house two bedrooms.
The extension needs to be less than 50% in size than the rest of the house, so that we don't trigger bush fire planning regulations. This would involve many thousands of dollars in compliance, and would mean bringing the rest of the house up to current standards. Cheaper and easier to build a small extension, although the compliance just for this has cost well over $10,000.
Its going on the end of the house beyond the laundry and bathroom. Access will be via the laundry which isn't ideal but we have limited options.
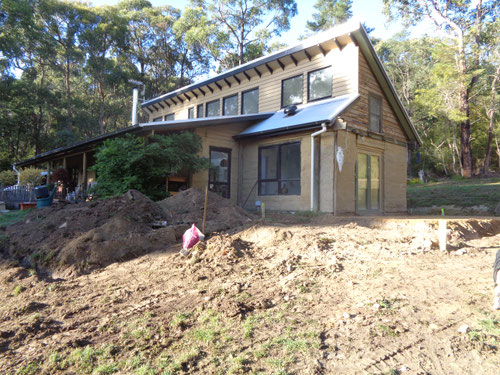
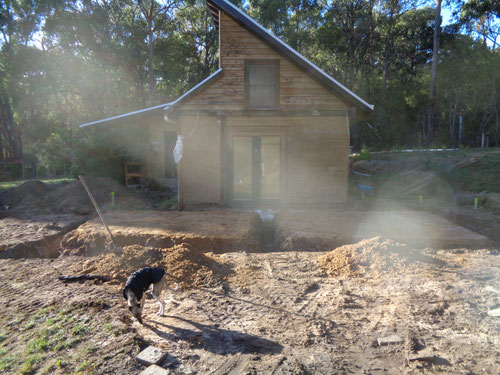
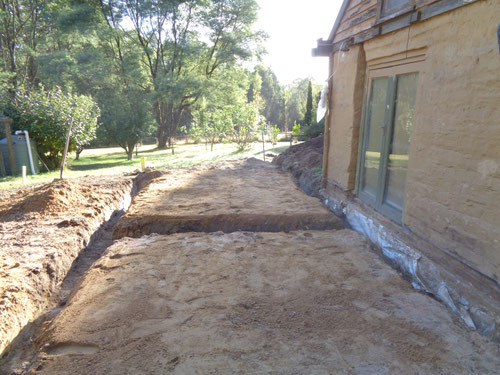
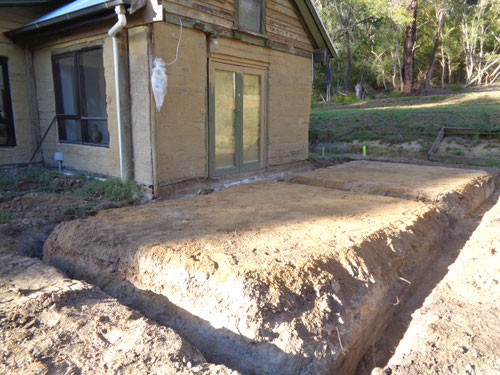
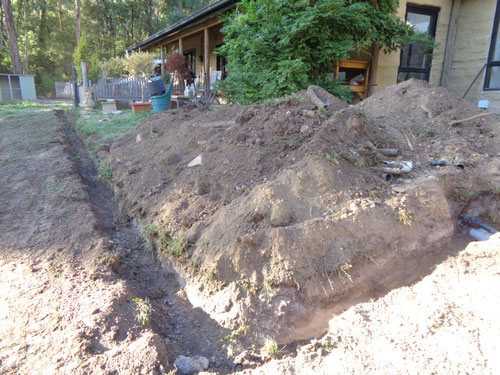
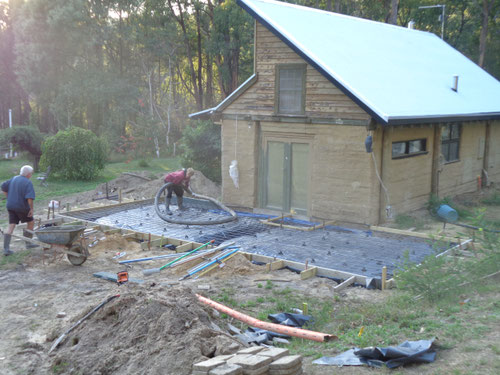
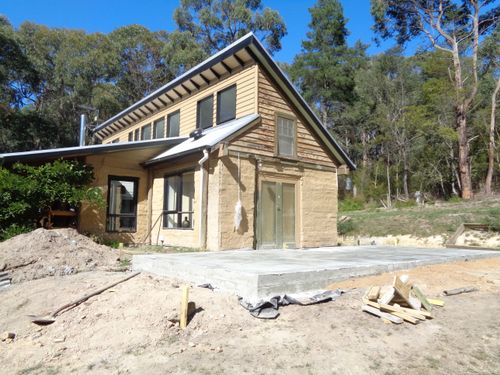
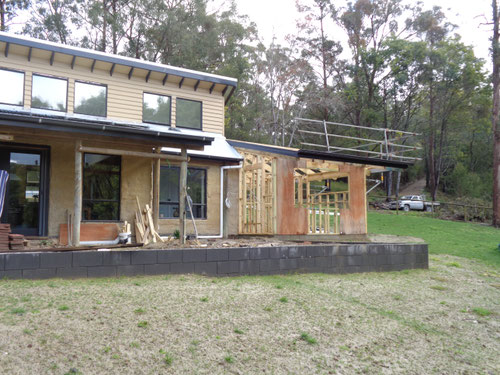
We also decided to put a decent footing in around the front of the house. We'll put a small retaining wall on that and then pave the whole area across the front. Cheaper than a deck and no fire regulation issues using timber

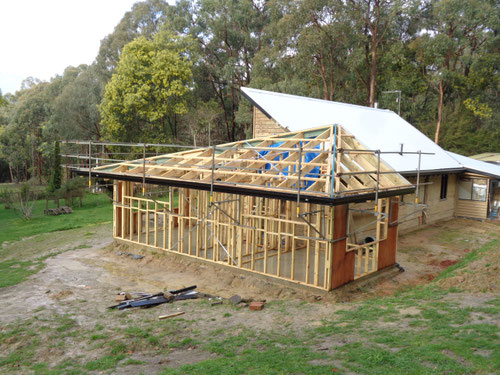
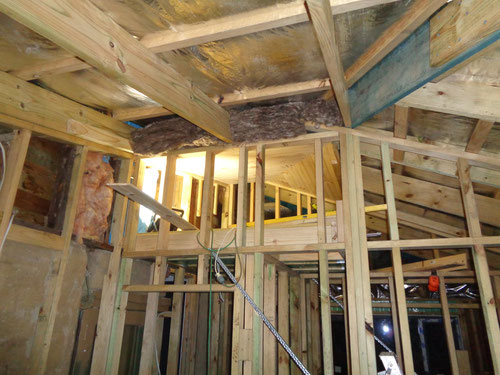
Jano's brother Mickie is a chippy, so he came to build the frame for us
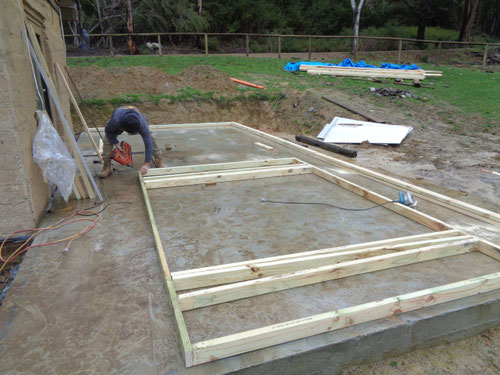
The walls between the 2 bedrooms are configured to be a walk in robe for us, and a built in robe for the spare room

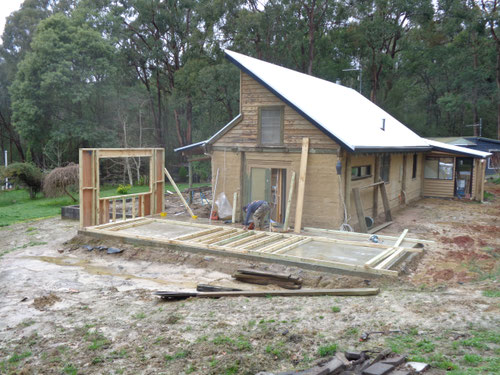
The roof was problematic. I originally drew the design on a scrap of paper, with the pitch of the front and back roofs matching the existing pitches. I also wanted no gable end in case I wanted to put more solar panels there as its north-ish facing. So I drew the roof line as sloped.
But, as the roofs have different pitches, and the hips aren't at 45 degrees, the eaves don't line up. Which means they are different widths. Which is fine, because they hang out further on the sun side keeping the summer sun out. But working it all out was a nightmare
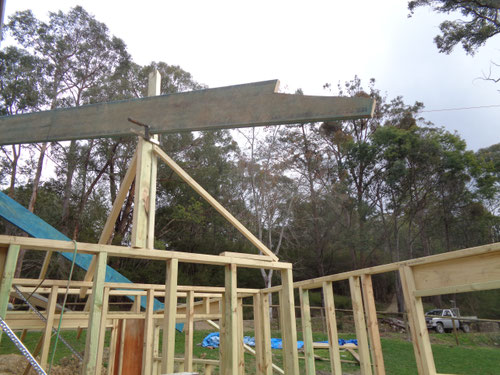
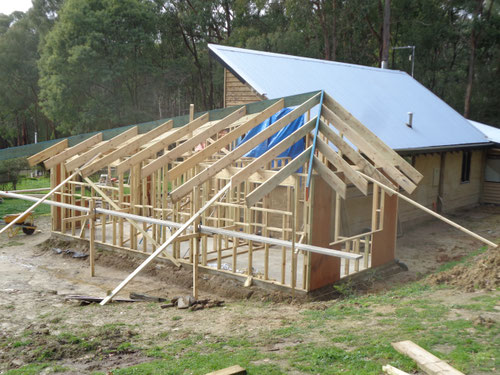
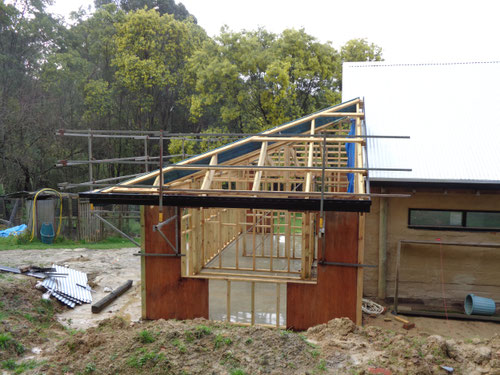
All came good in the end!
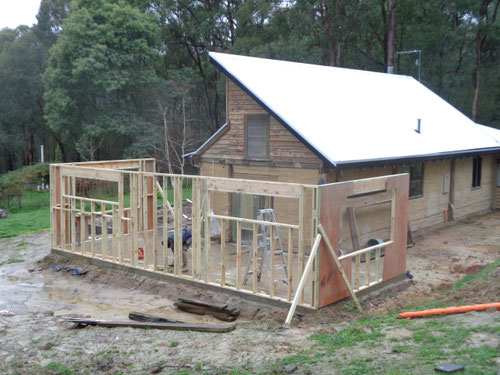
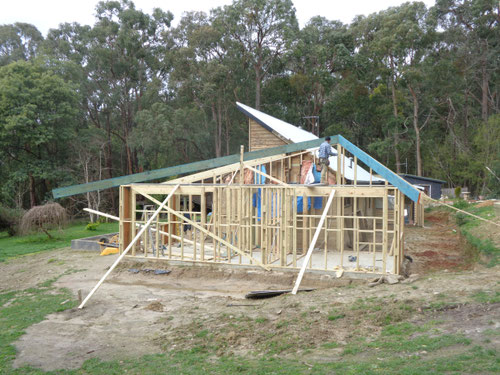
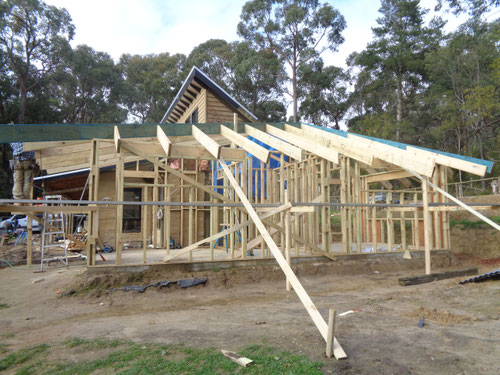
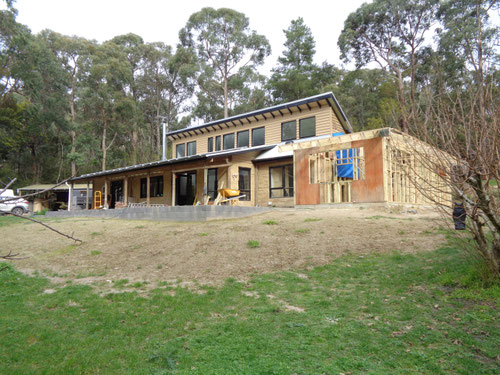
All ready for the roofer. The bloke who did the roof replacement on the rest of the house was a recommendation from a friend. He was a pretty good example of how 'çare in the community' isn't working, so we've gone for a local firm who have been great so far. The weather has been terrible, but the gutters and fascias are on
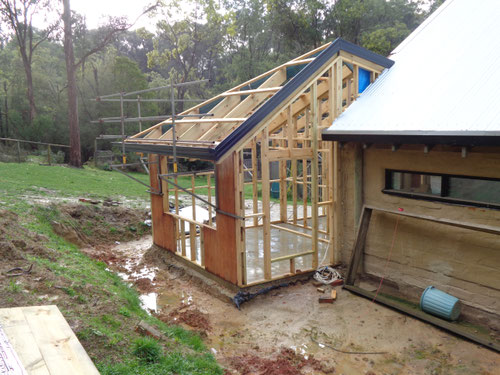
The new roof cuts through the old one, which will be tricky to flash.
Roof went on really well, and the flashings etc to the old part are well sealed.


Because the new roof cut across a window, we removed it, and replaced the weatherboards. These can be timber because they are classed as being maintained, whereas the new extension needs to be clad in cement boards for the fire regs because they are new. Totally mental.


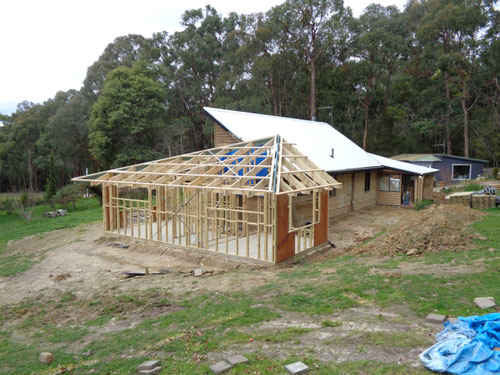
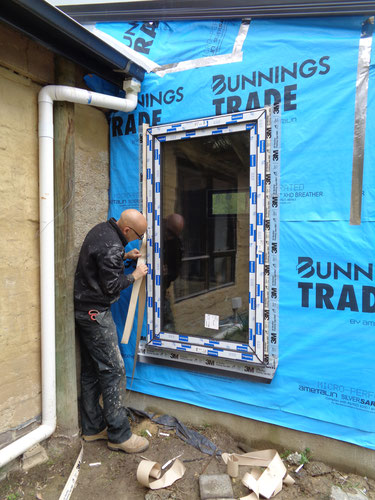
Wrapped up the walls with breather membrane


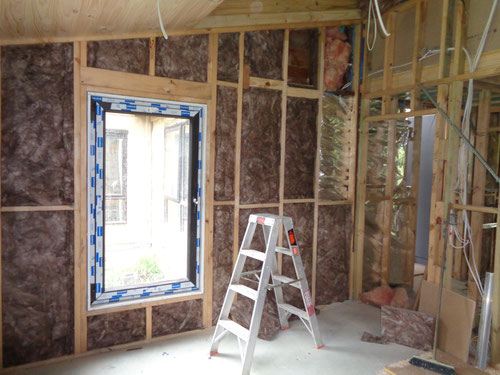
It made a big difference - now we've got an 'inside'

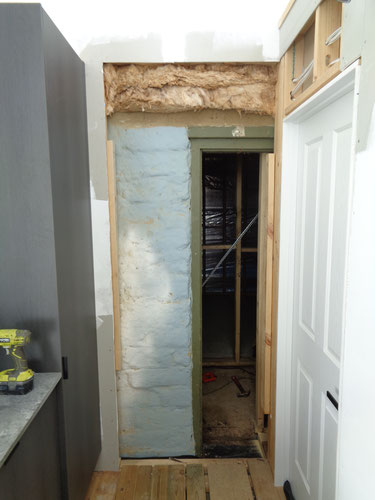
The old external french doors don't line up with where the laundry needed to go, so we can finally take out some wall to line everything up, and be able to access the extension from inside the house


We decided to get the window company to install the frames when they came to put the glass in. Money well spent; they went in well and the installer was very helpful and had an eye for detail. Having seen how much work went into it, I'm glad I didn't try and do it


I got some 3M flashing tape off someone on Gumtree who had leftovers, and have made a start sealing everything up. Its quite hard because its so sticky, once it touches something its there forever!
And all the internal walls line up, so hopefully it'll all look pretty seamless


Having stared at it for a while, there's a bit of dead space above the hallway between the bedrooms. So we decided to build in a little hidden storage area


A good spot to practice the pine lining boards again which will be the ceilings in the bedrooms

A bit of plaster, and it will all be hidden away, with concealed access


The next big job is the weatherboards. There are external metal angles for the corners, and a small starting strip the kick out the bottom board

The flashing pops out between two boards and is cut off

We measured the height of the main walls under the eaves, and then divided the number of boards, to get an even overlap. This way, boards that continue on out over the eaves are a full board, and the last board up the wall is the same size as all the others - no slithers at the end

Doing the long side of the house meant joining 3 boards together end to end. I was doing this bit on my own, and its impossible to hold up a board, level it, line it up, and then nail it. So I built a couple of holders set to the right depth overlap to hold the board on. Once the ends are nailed, the middle can be flexed out so they can be removed


Because a small error becomes a big error when it is continued over 9 metres, there was some 'feathering' required to bring the boards back to level before reaching the windows. Even though its a few mm, the eye can't pick it. Just got to remember to carry on the 'error' around the corner to the next wall so that the corners line up

The joins were all 'on stud', and had metal flashing to stop water dripping between the joint

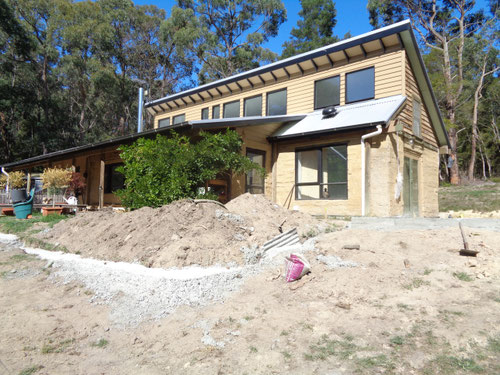
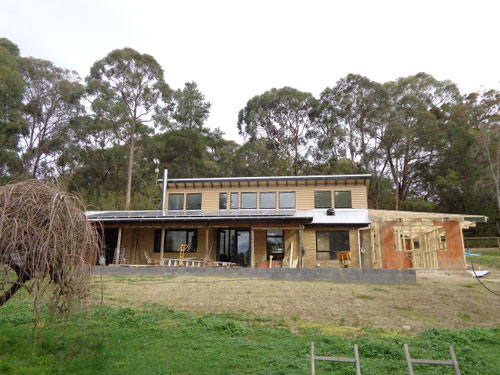
Blends in ok. And the grass is back which is good


Bit more paint and its done outside

We decided to make a start on the ceilings; wood to match the rest of the house.

Its a bit of a fiddle because one angle can be done on the drop saw, but the other angle in the main bedroom is too big for the saw so has to be cut with the circular saw. Made a jig which slots into the groove to keep it in position, and provides a guide to run the saw down

We can make pretty good progress, but its definitely a two person job with the longer boards

We decided to get someone to do the plastering. I could do it but it'd be slow and not necessarily great. And for a couple of grand labour, it'll be done in 2 days. But I had a days notice to get ready, and insulate everything
Day one lasted 6 hours, but all the sheets are hung. They'll be back tomorrow to stop it off and sand, and then its back to the ceiling!
The end of the hallway into the extension

Turn right into the main bedroom

With walk in robe to the right

And turn left into bedroom 2

With built in robe

And higher ceiling
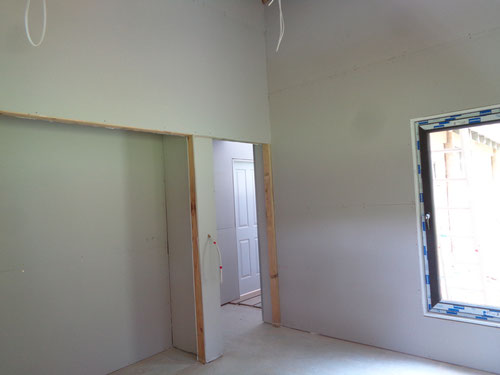
And the view back out into the hallway. Its already hard to remember this was outside not so long ago


Time to take up the temporary floorboards in the laundry, and continue the Tasmanian oak through into the extension


We just glued them to the slab with Sikaflex - they seem pretty solid


We then finished off the ceiling in the spare bedroom

And painted it


Both the rooms and the newer part of the laundry needed trimming out - skirting boards, architraves, and the built in wardrobe in the spare room


Back into the main room - all painted and trimmed except for the windows which needed the reveals painting black


We also installed some Ikea wardrobes in the walk in robe in the main bedroom


Bedroom 1 all ready for carpet

And with carpet

We will carry on sleeping in the shed until the floorboards are polished in a few weeks, but we put the spare bed in the spare room. Small, but fine. Just waiting for wardrobe doors in here, and then its all pretty much done inside

Finished bedrooms
Main bedroom with walk in robe
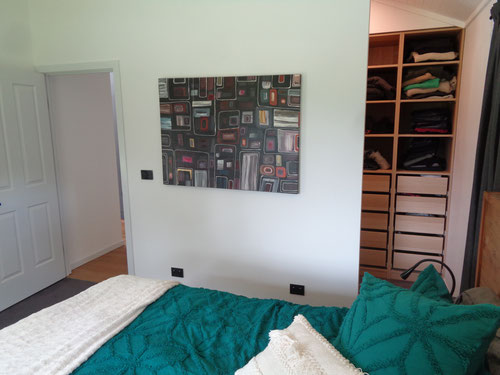


Spare bedroom with built in robe


